
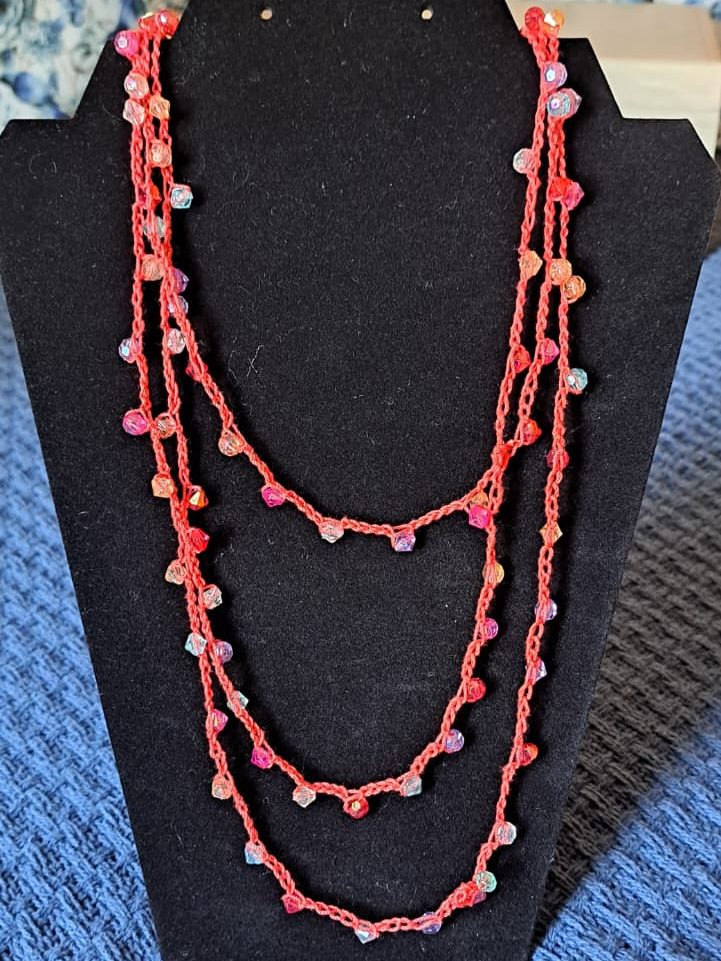
Making crochet jewelry can seem daunting at first, but it doesn’t have to be. This crochet necklace can be made in less than an hour and in any style, color, etc. that you would like. Let your creative juices flow in five easy steps!
Perhaps I should say six steps, since you do have to collect all of your materials. Let’s call that a pre-step 😉
Materials Needed
- Crochet Thread of any color, preferably size 10 (something like Aunt Lydia’s)
- Beads of your choice ***Note: The beads do need to be strung on the crochet thread, so you need a bead with a hole big enough for the thread to pass through. A good rule is, if a sewing needle can’t get through, the bead is too small. Personally, I like the 6/0 beads from Michael’s, which are roughly 1/4 inch in size or between 3-4 mm.
- Crochet Hook (I use a 1.65 mm. Stick with something small, preferably an “E” hook or smaller.)
- Scissors
- Clear Dry Glue
- Sewing Needle and Small Amount of Sewing Thread (optional, but highly recommended as an easy way to string the beads).
STEP 1: String the Beads
You can try to string the beads just using the crochet thread, but I find it much easier to use a sewing needle with a bit of sewing thread:
Thread the sewing needle and knot the thread. Slip the crochet thread through the loop made by the sewing thread and pull about 3 inches through.
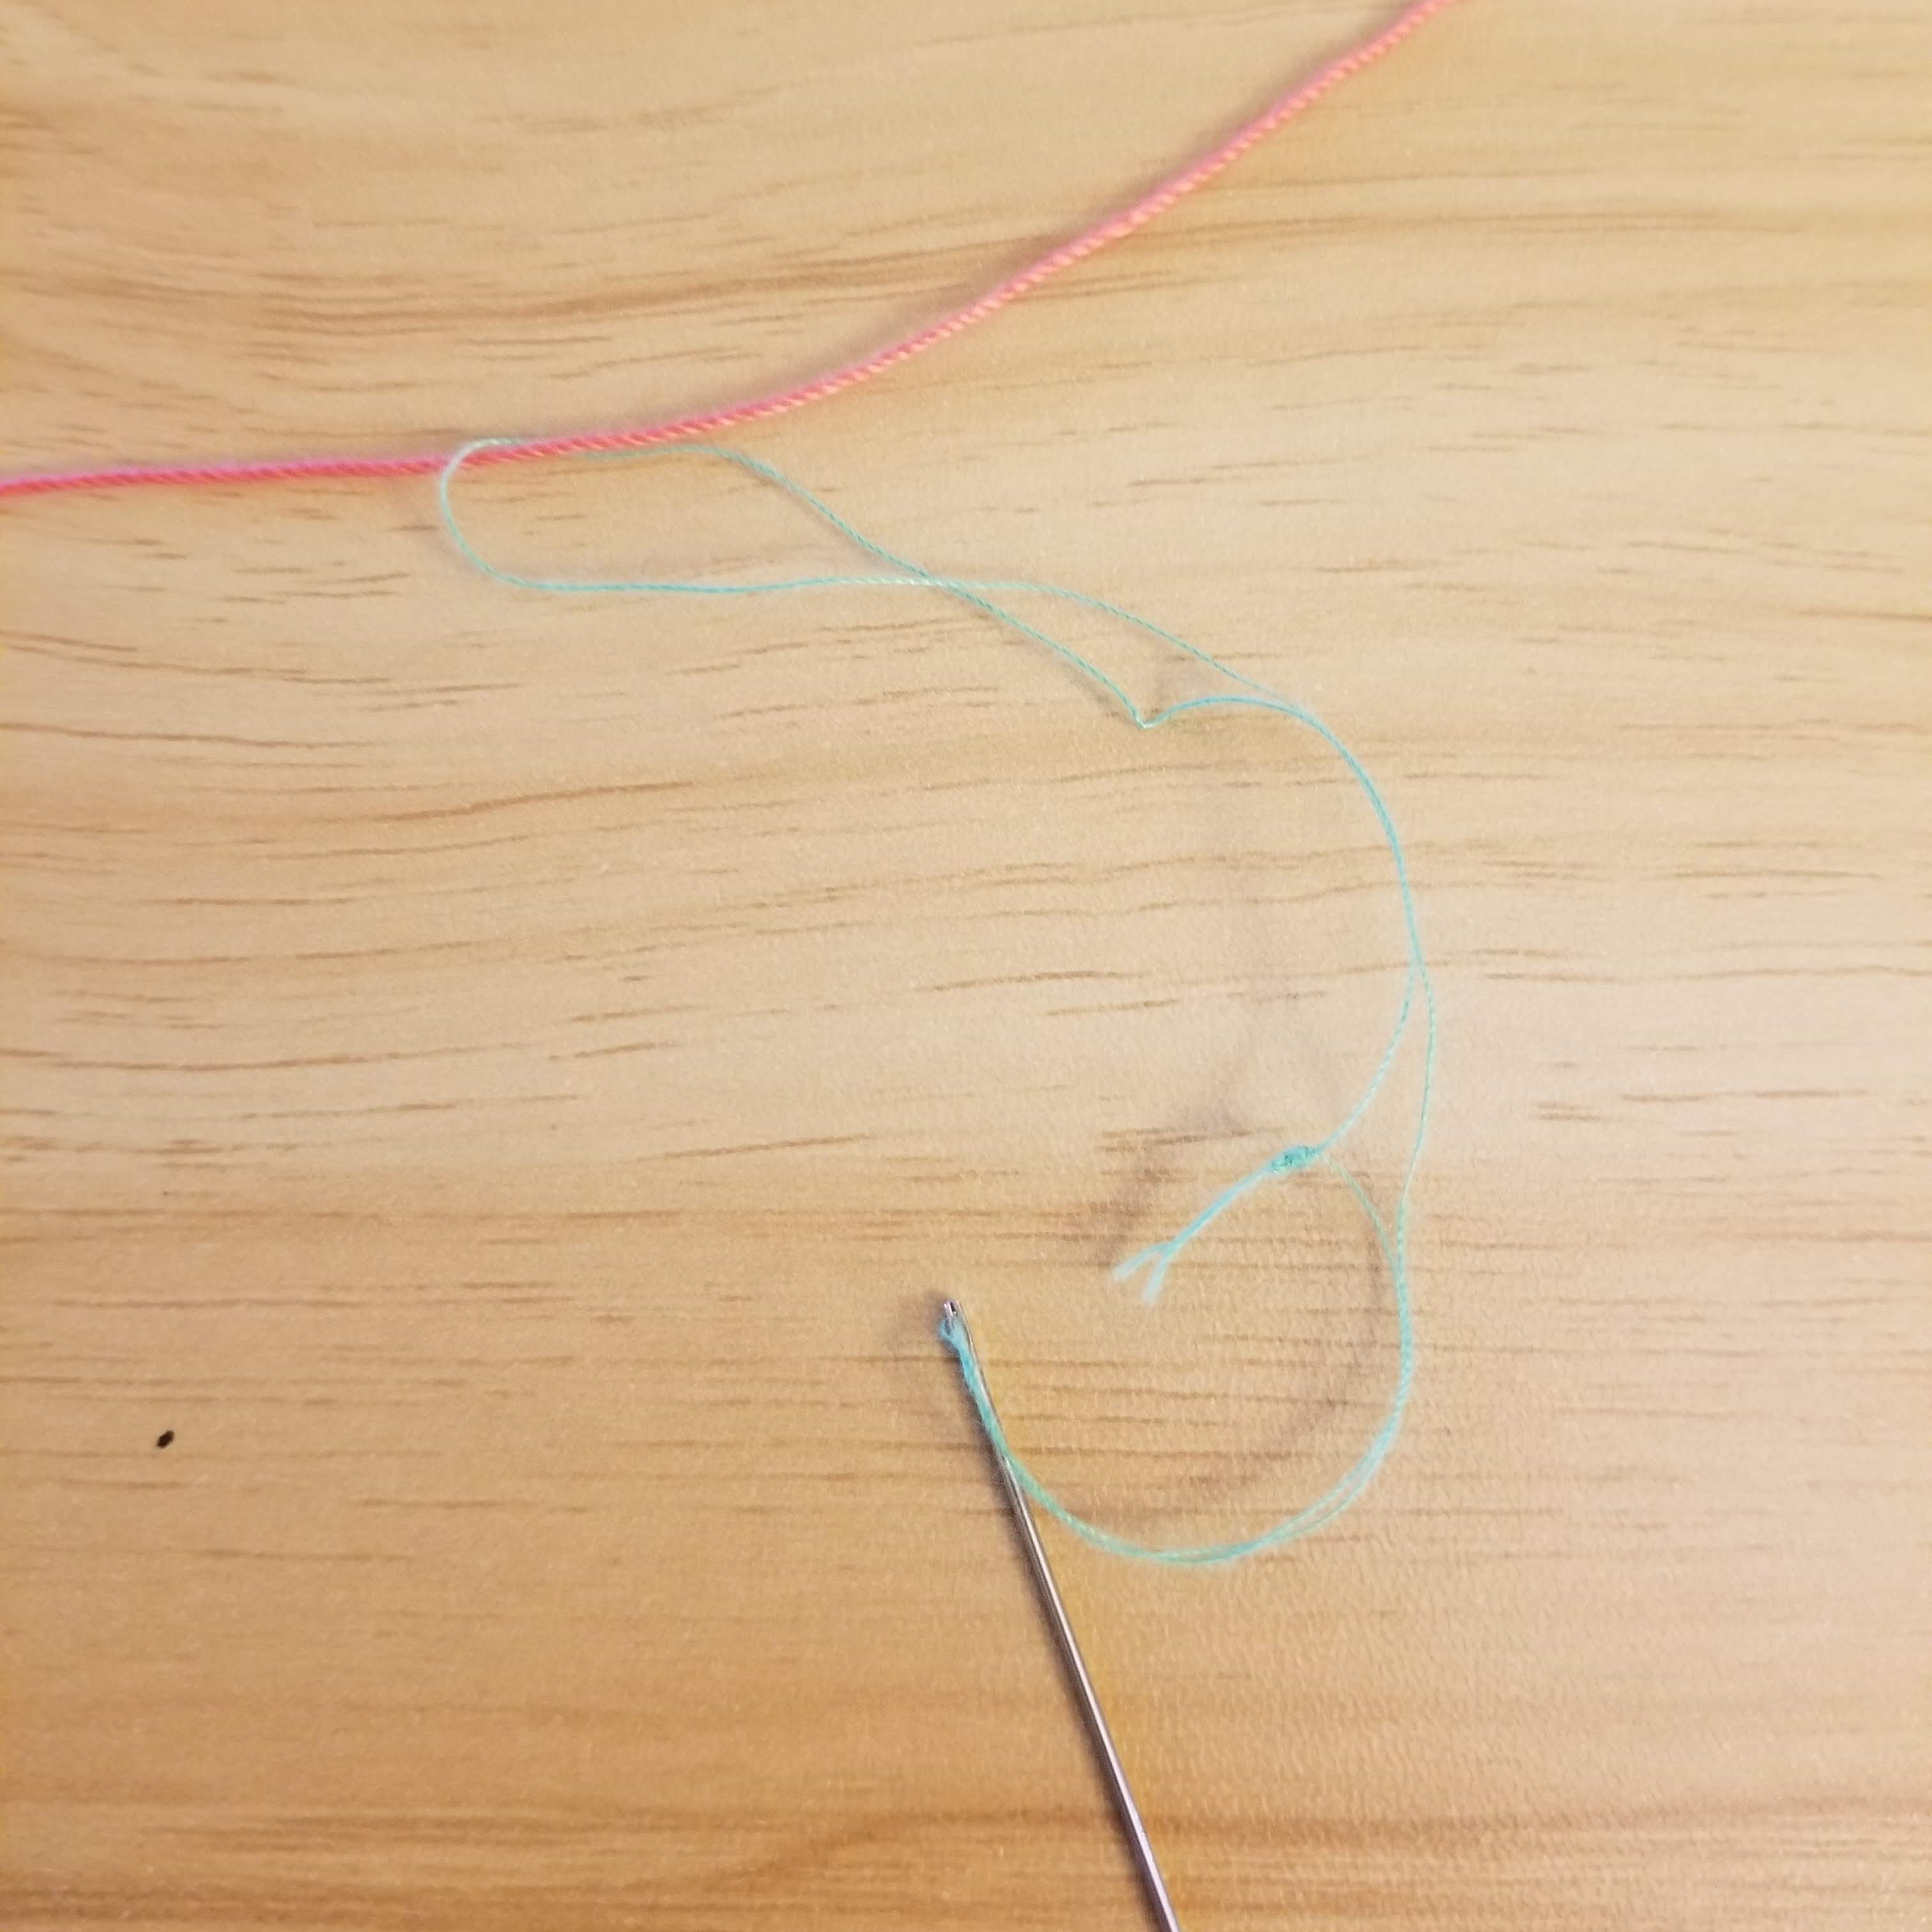
Slide the sewing needle through the beads and pull the beads along the sewing thread and onto the crochet thread.
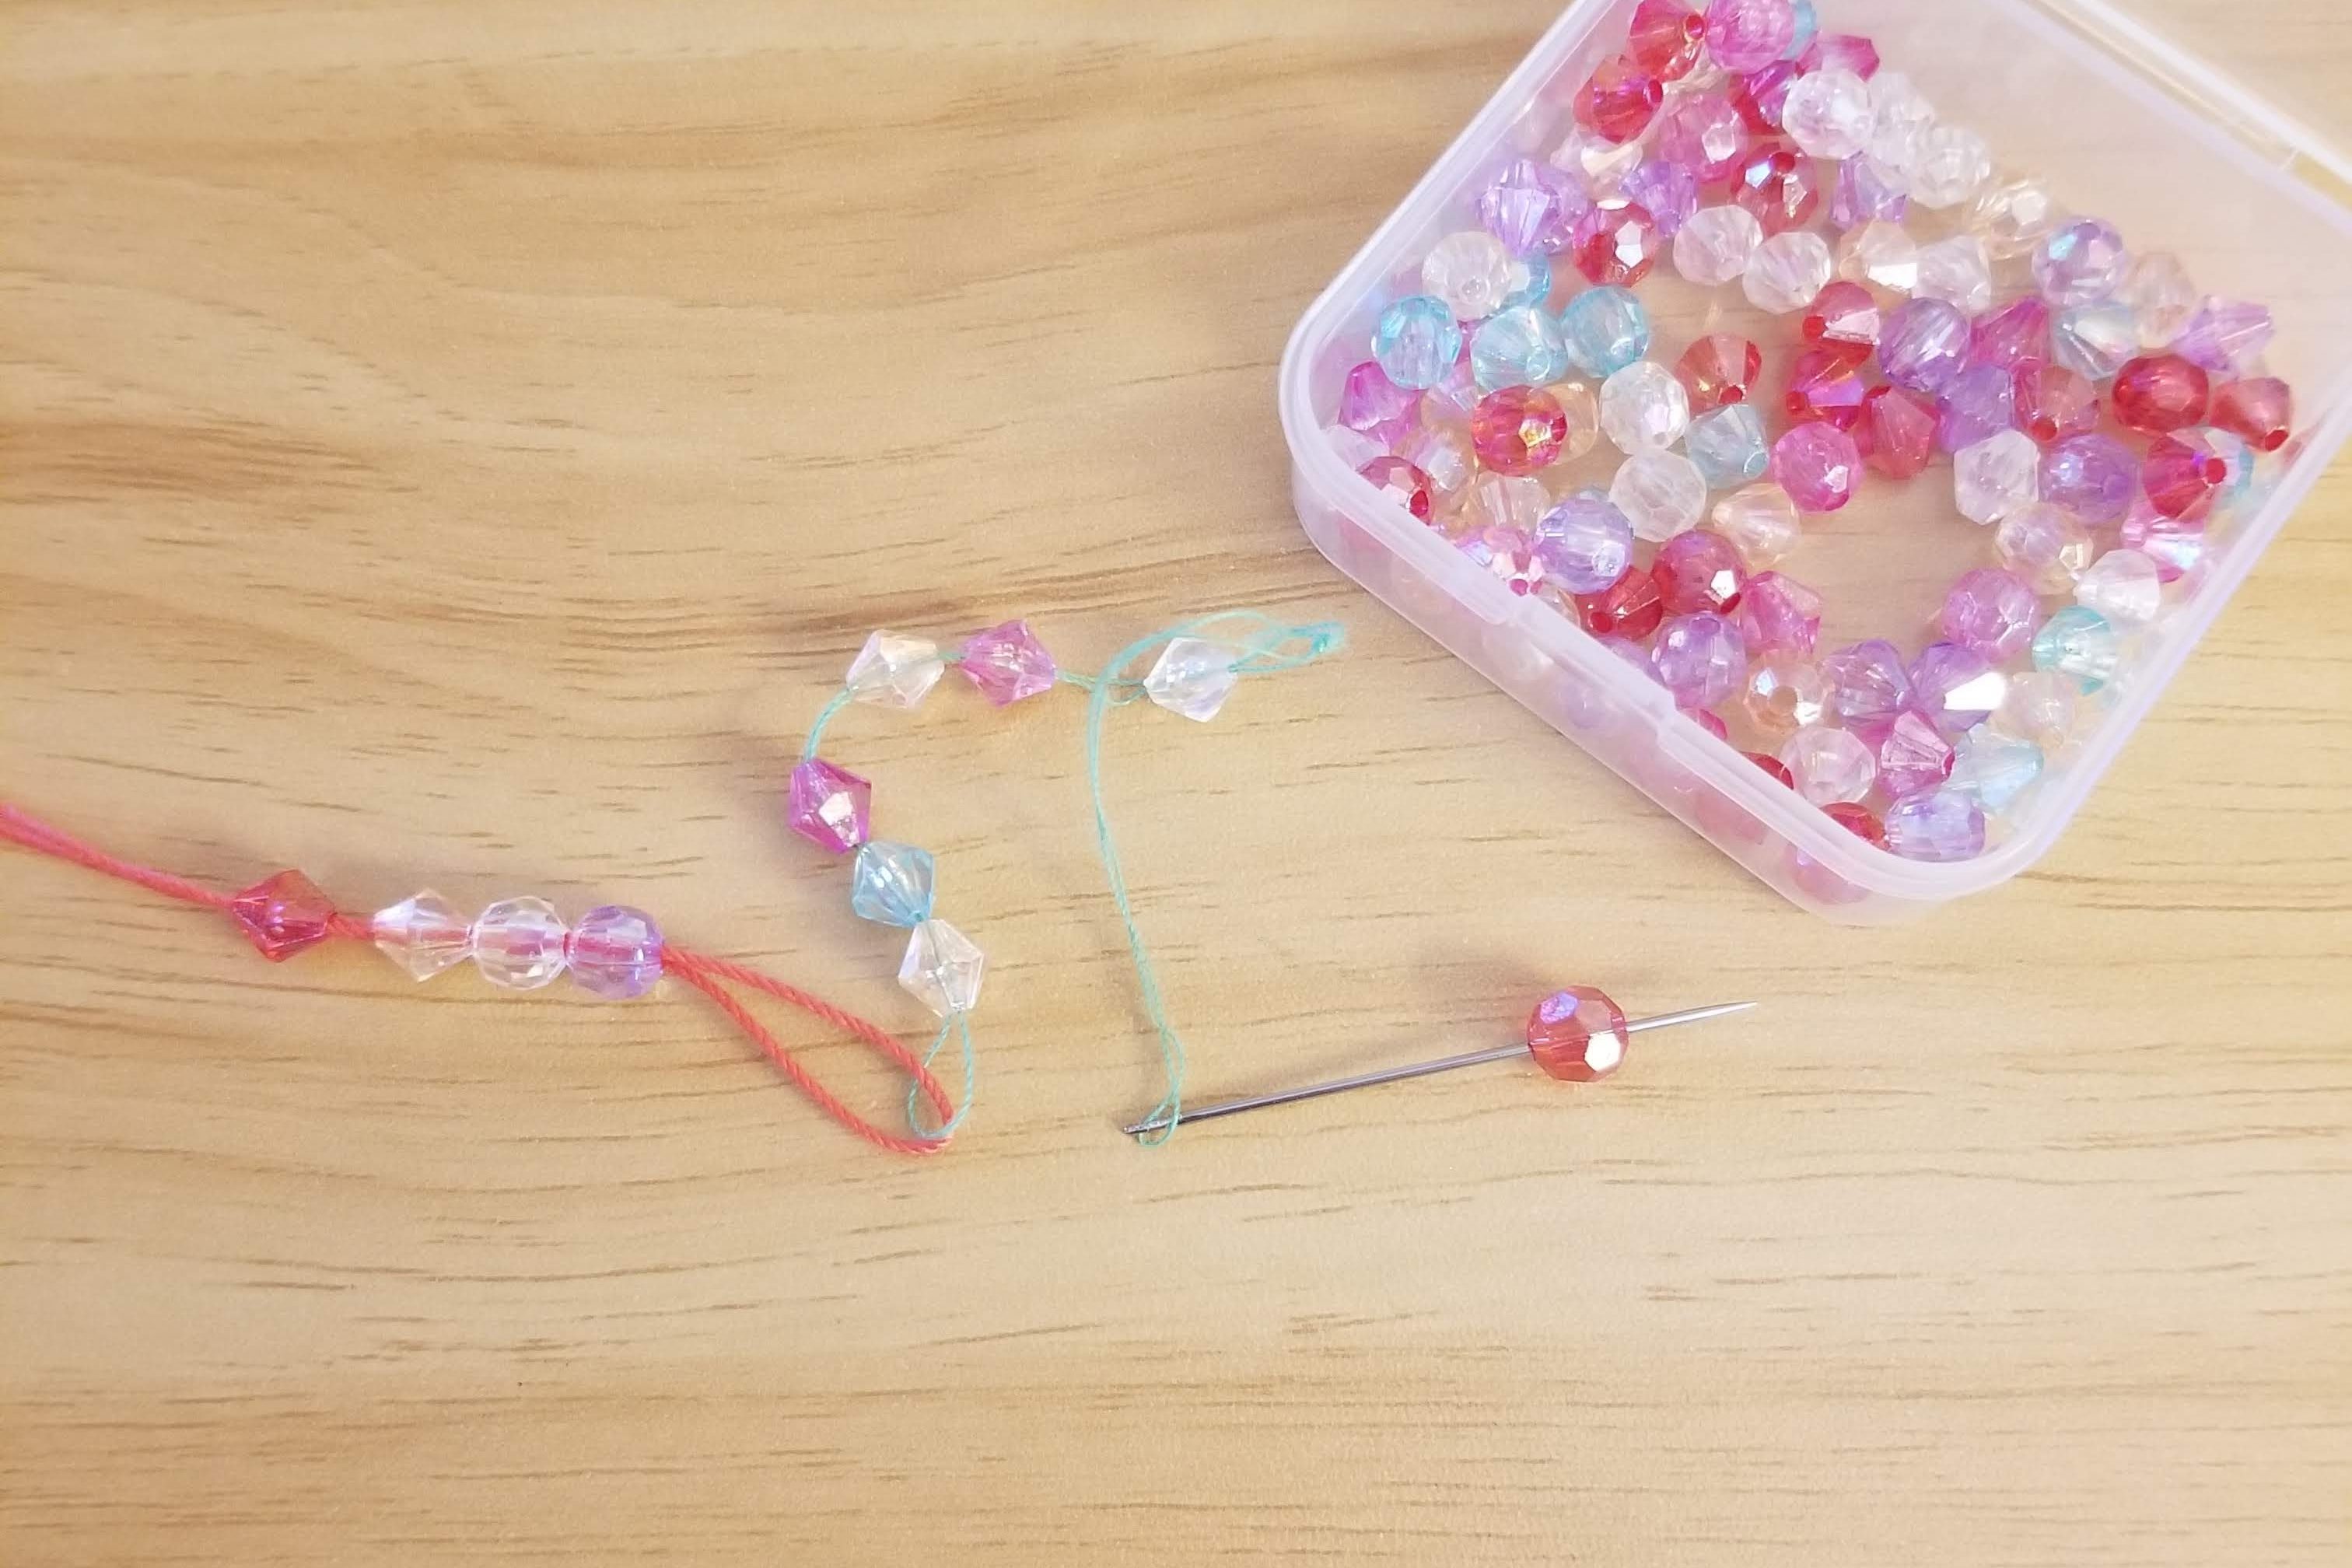
(To be safe, I’d string at least 60 beads, depending on how long you would like the necklace to be. I generally do about 100.)
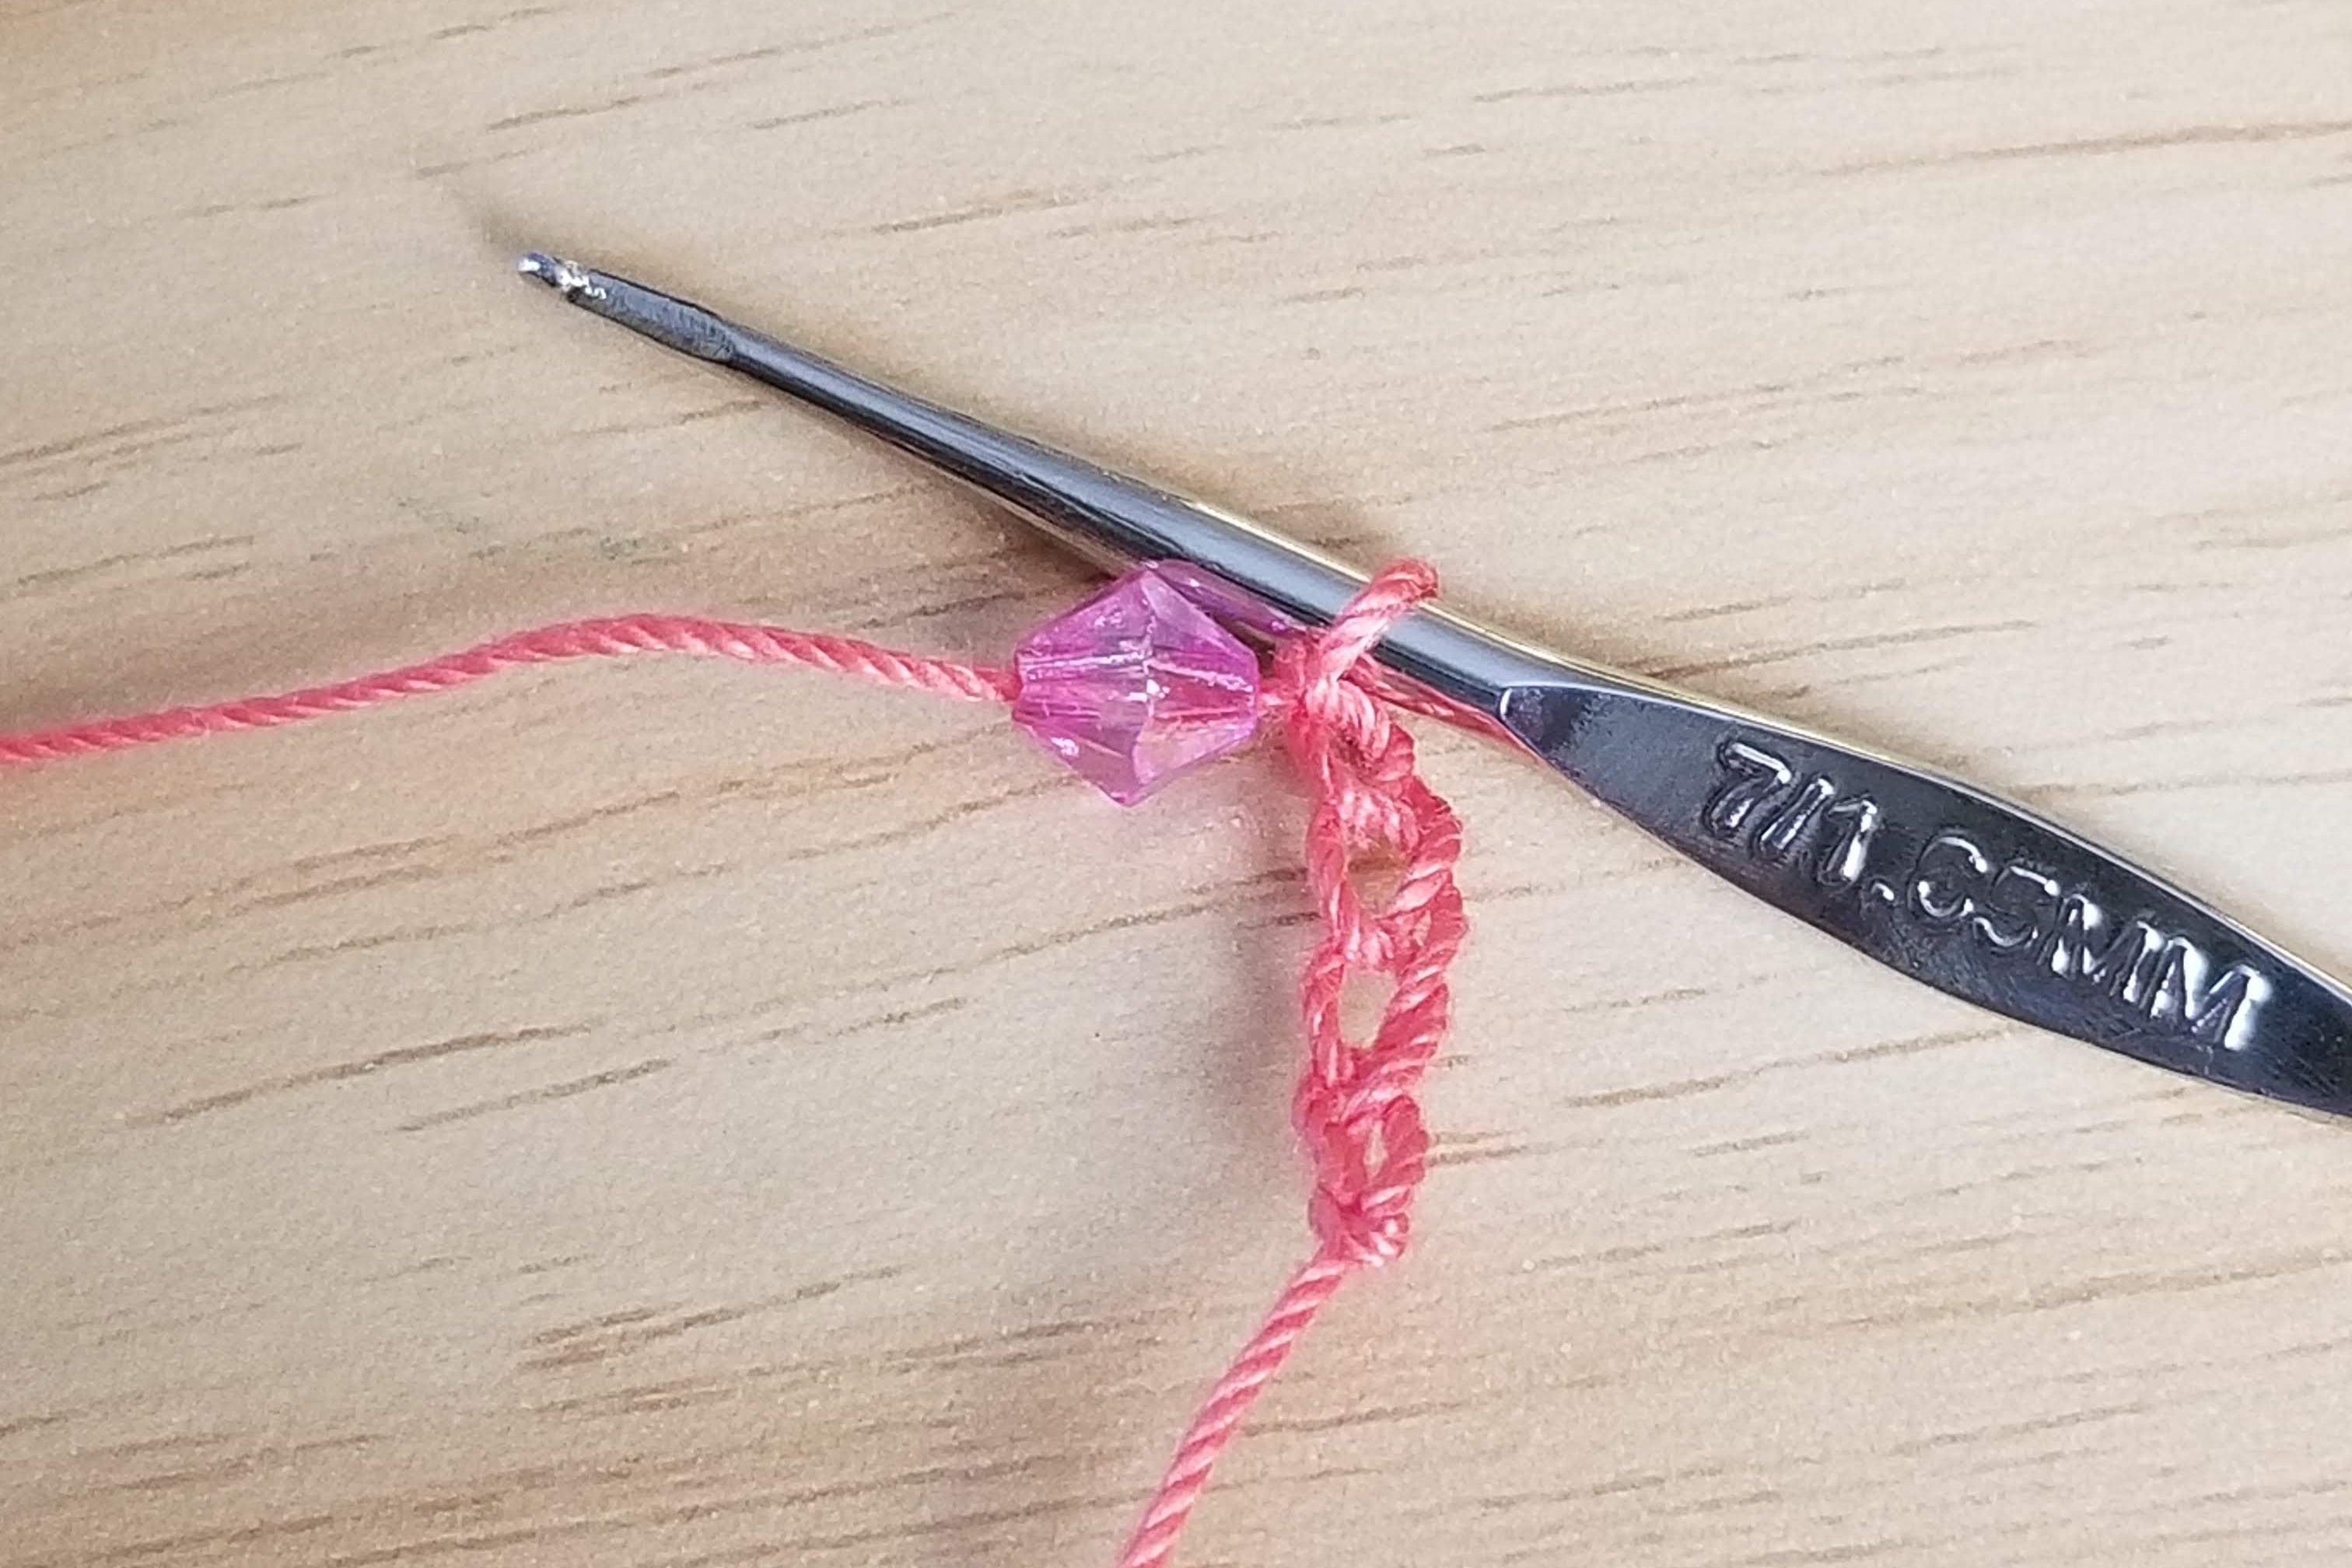
STEP 2: Crochet Your Necklace
Attach the crochet thread to the crochet hook and chain 5.

Pull a bead down to meet the chains and chain over the bead:

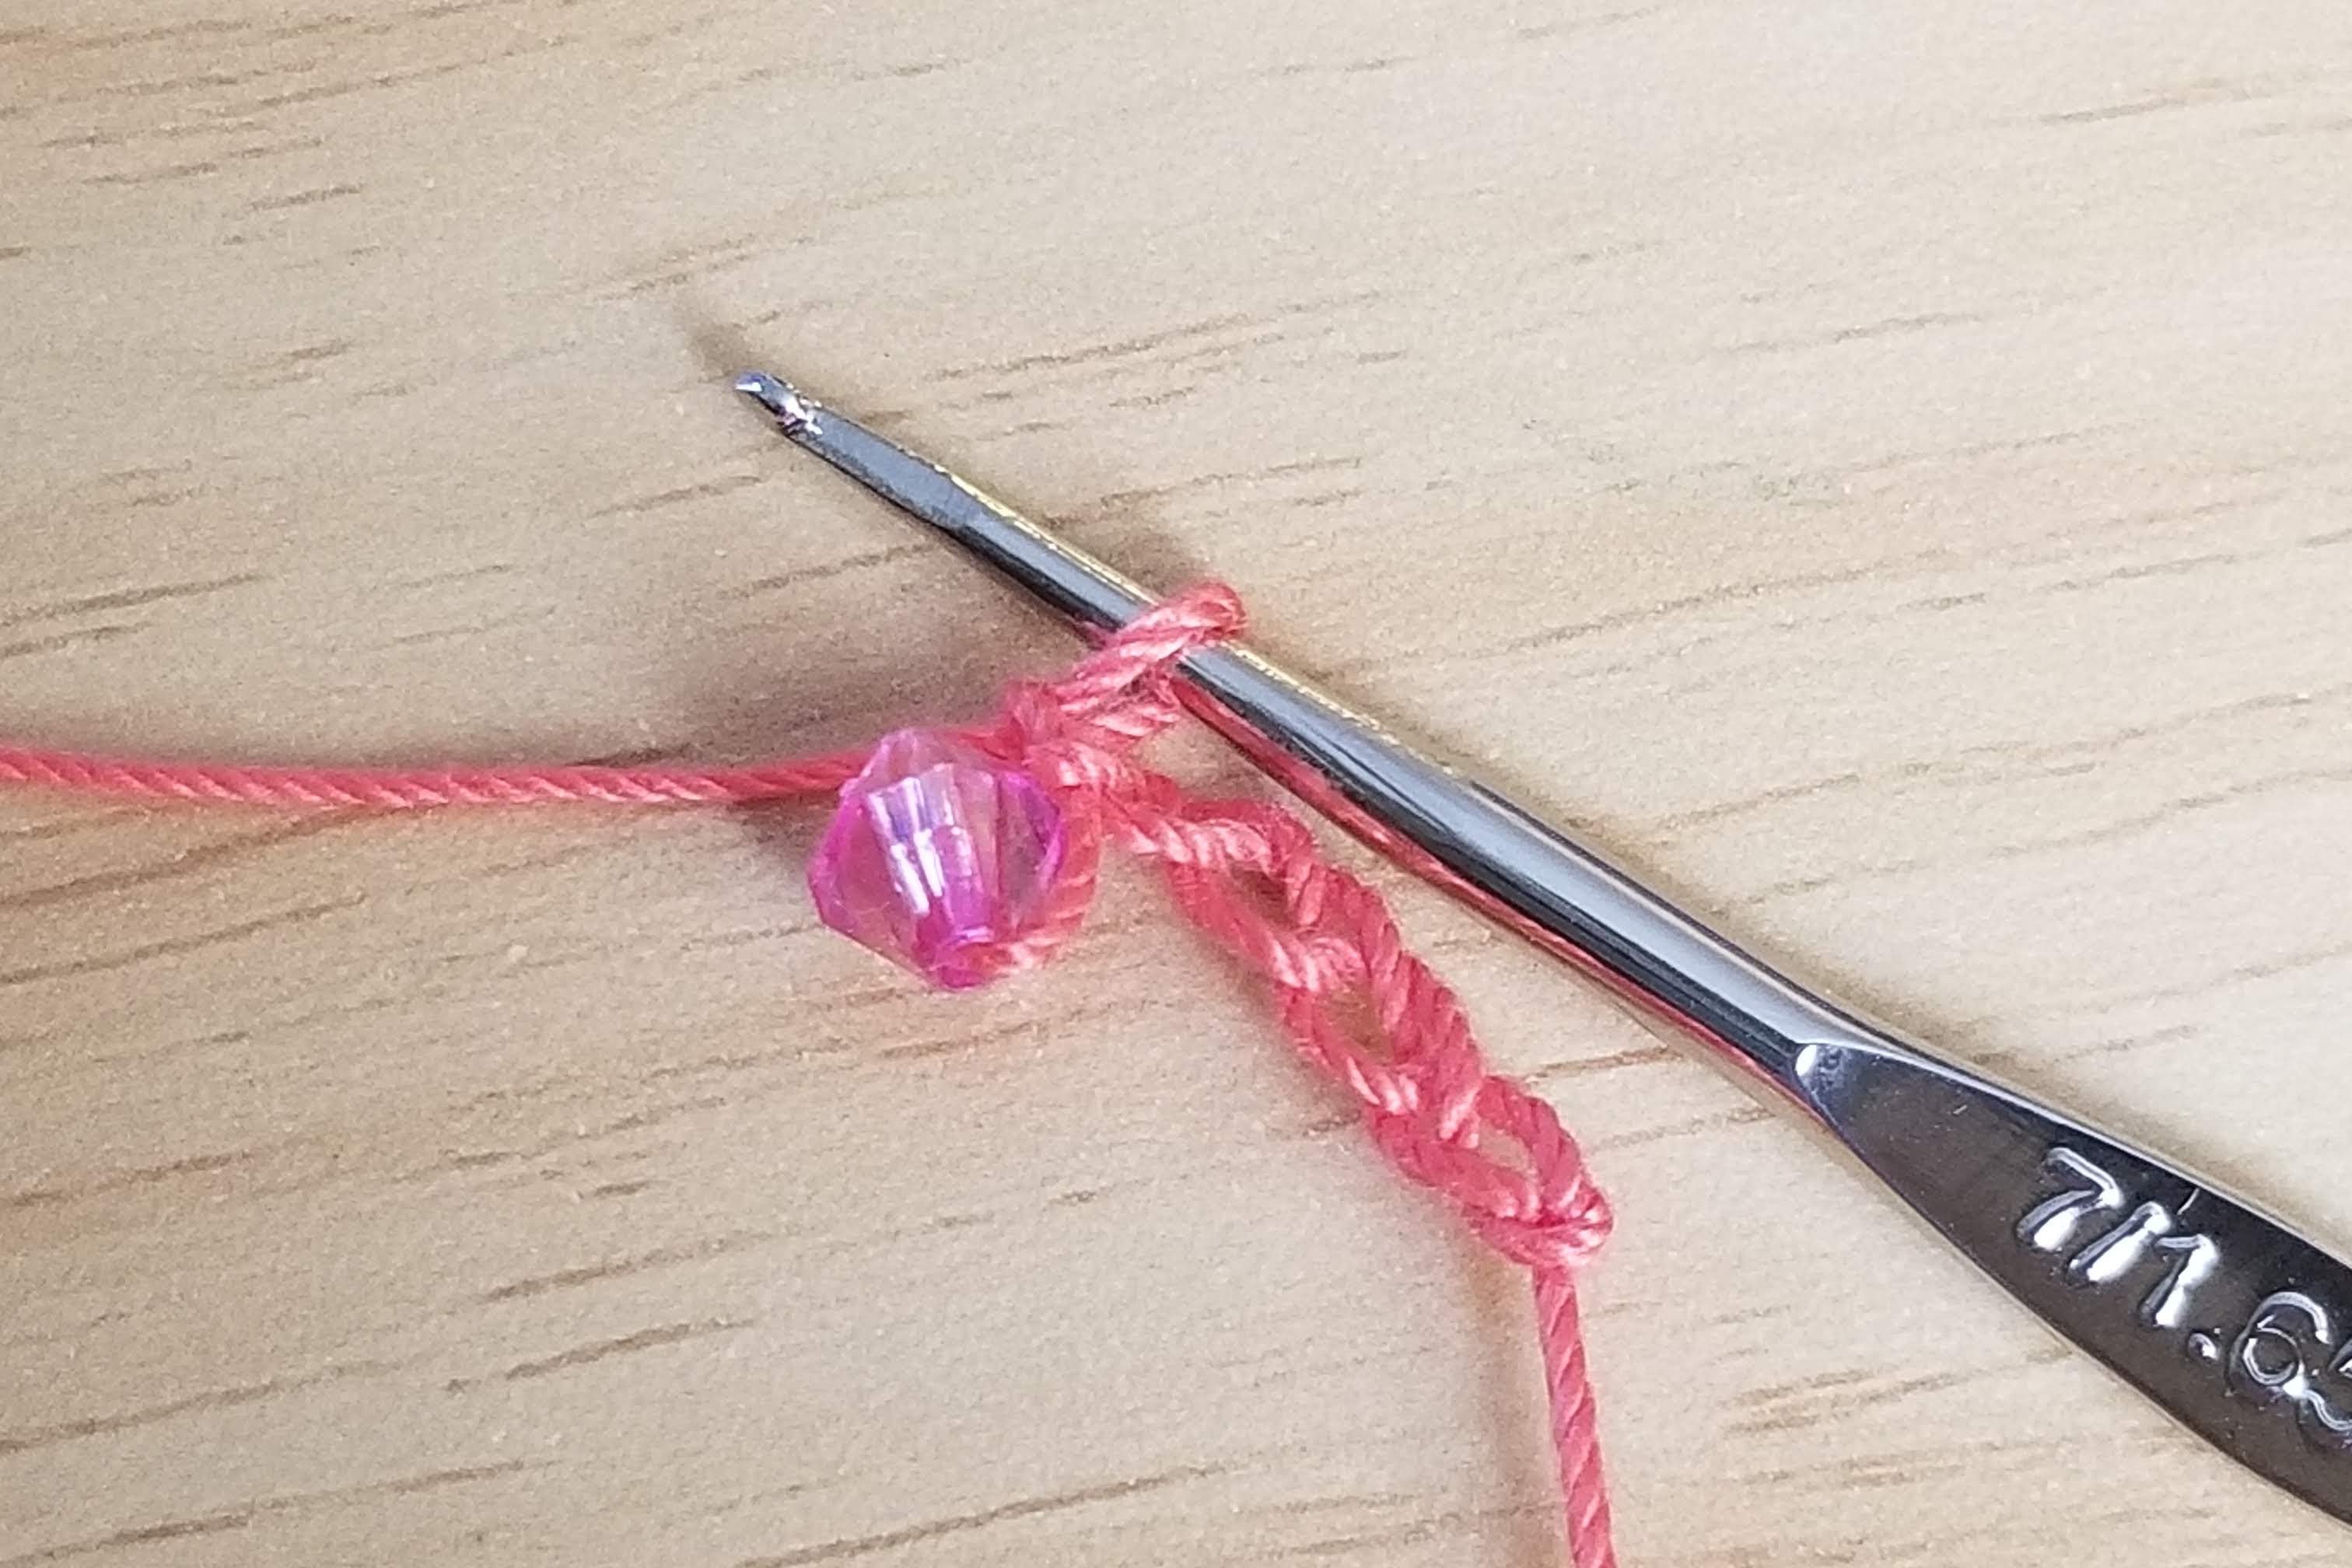
Chain 4, pull another bead down and chain over it. Continue with the pattern (chain 4, bead, chain 4, bead) until the necklace is the desired length. End on a chain 4. Fasten off. ***Note: Since this necklace does not have a clasp, please make sure that your necklace is long enough to fit over your head. Please test it before you fasten off. 😉
This is a VERY easy necklace to customize. You can make as many chains in between the beads as you would like. Play around with it.
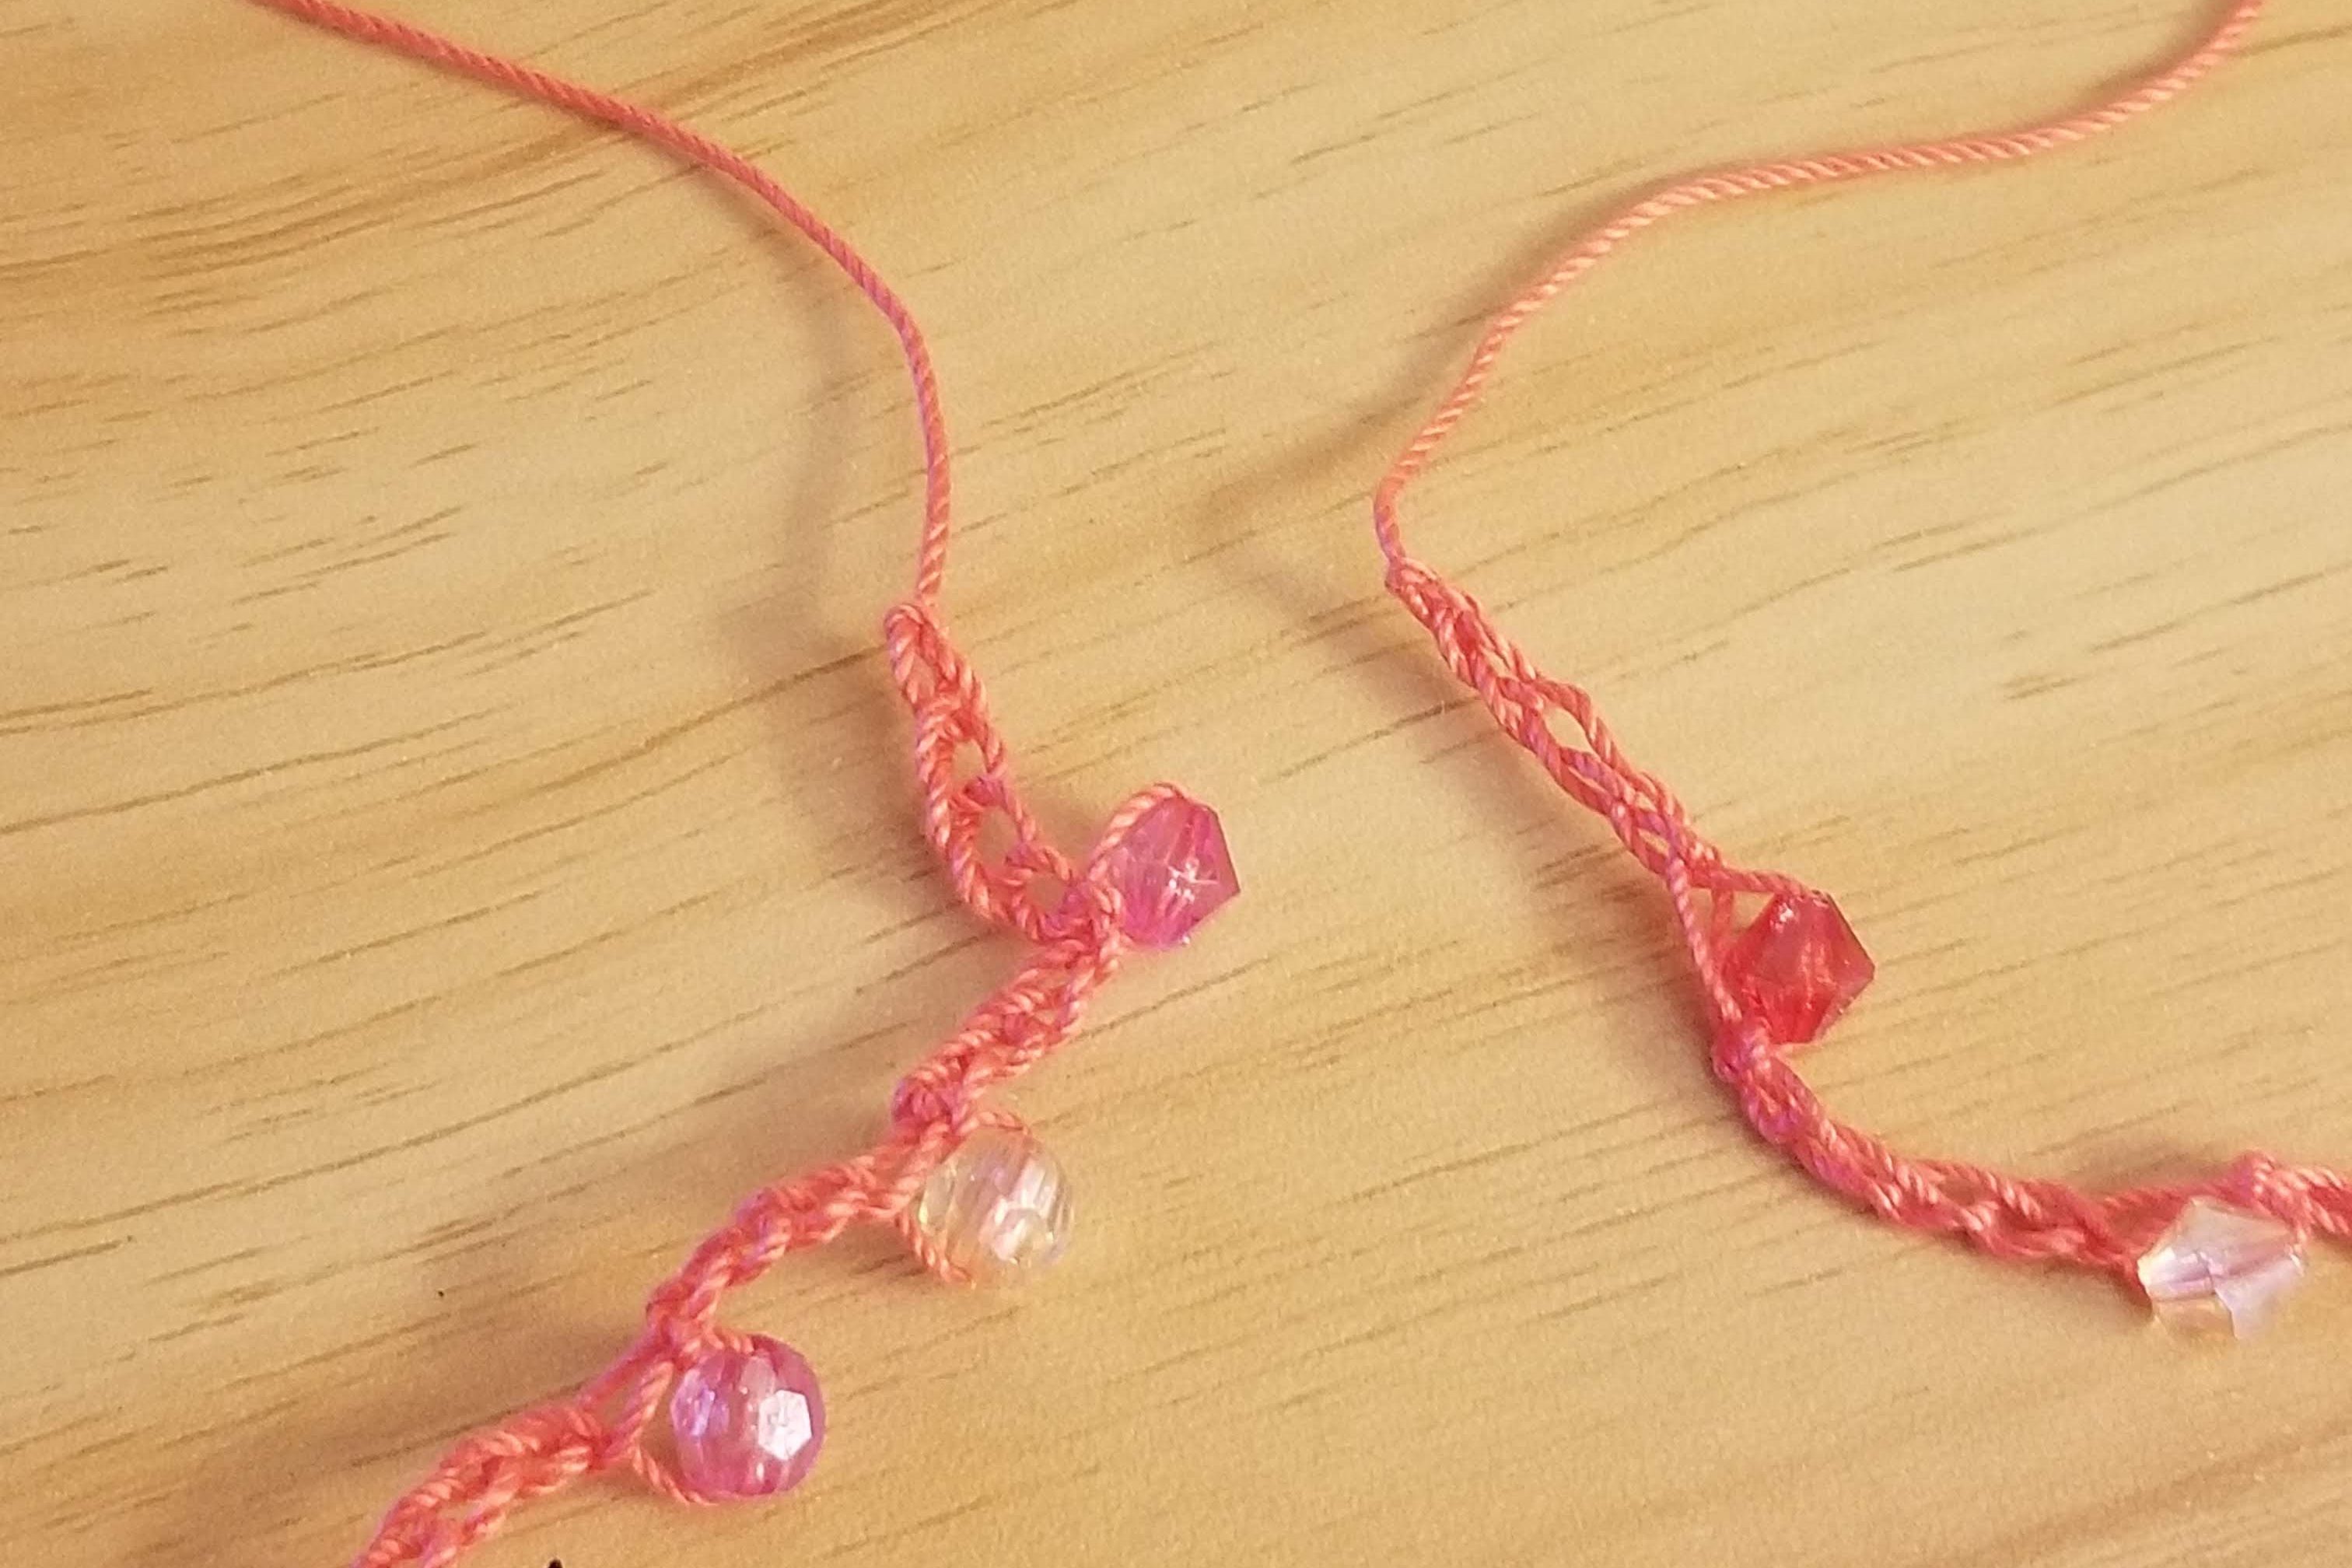
STEP 3: Knot the Ends
On a flat surface, join the two ends together and knot them. Be careful to keep the knot as close to the chains as possible (we don’t want a long string in between).
Knot the ends a few times. I use a combination of overhand knots and surgical knots. Just make sure it is nice and tight.

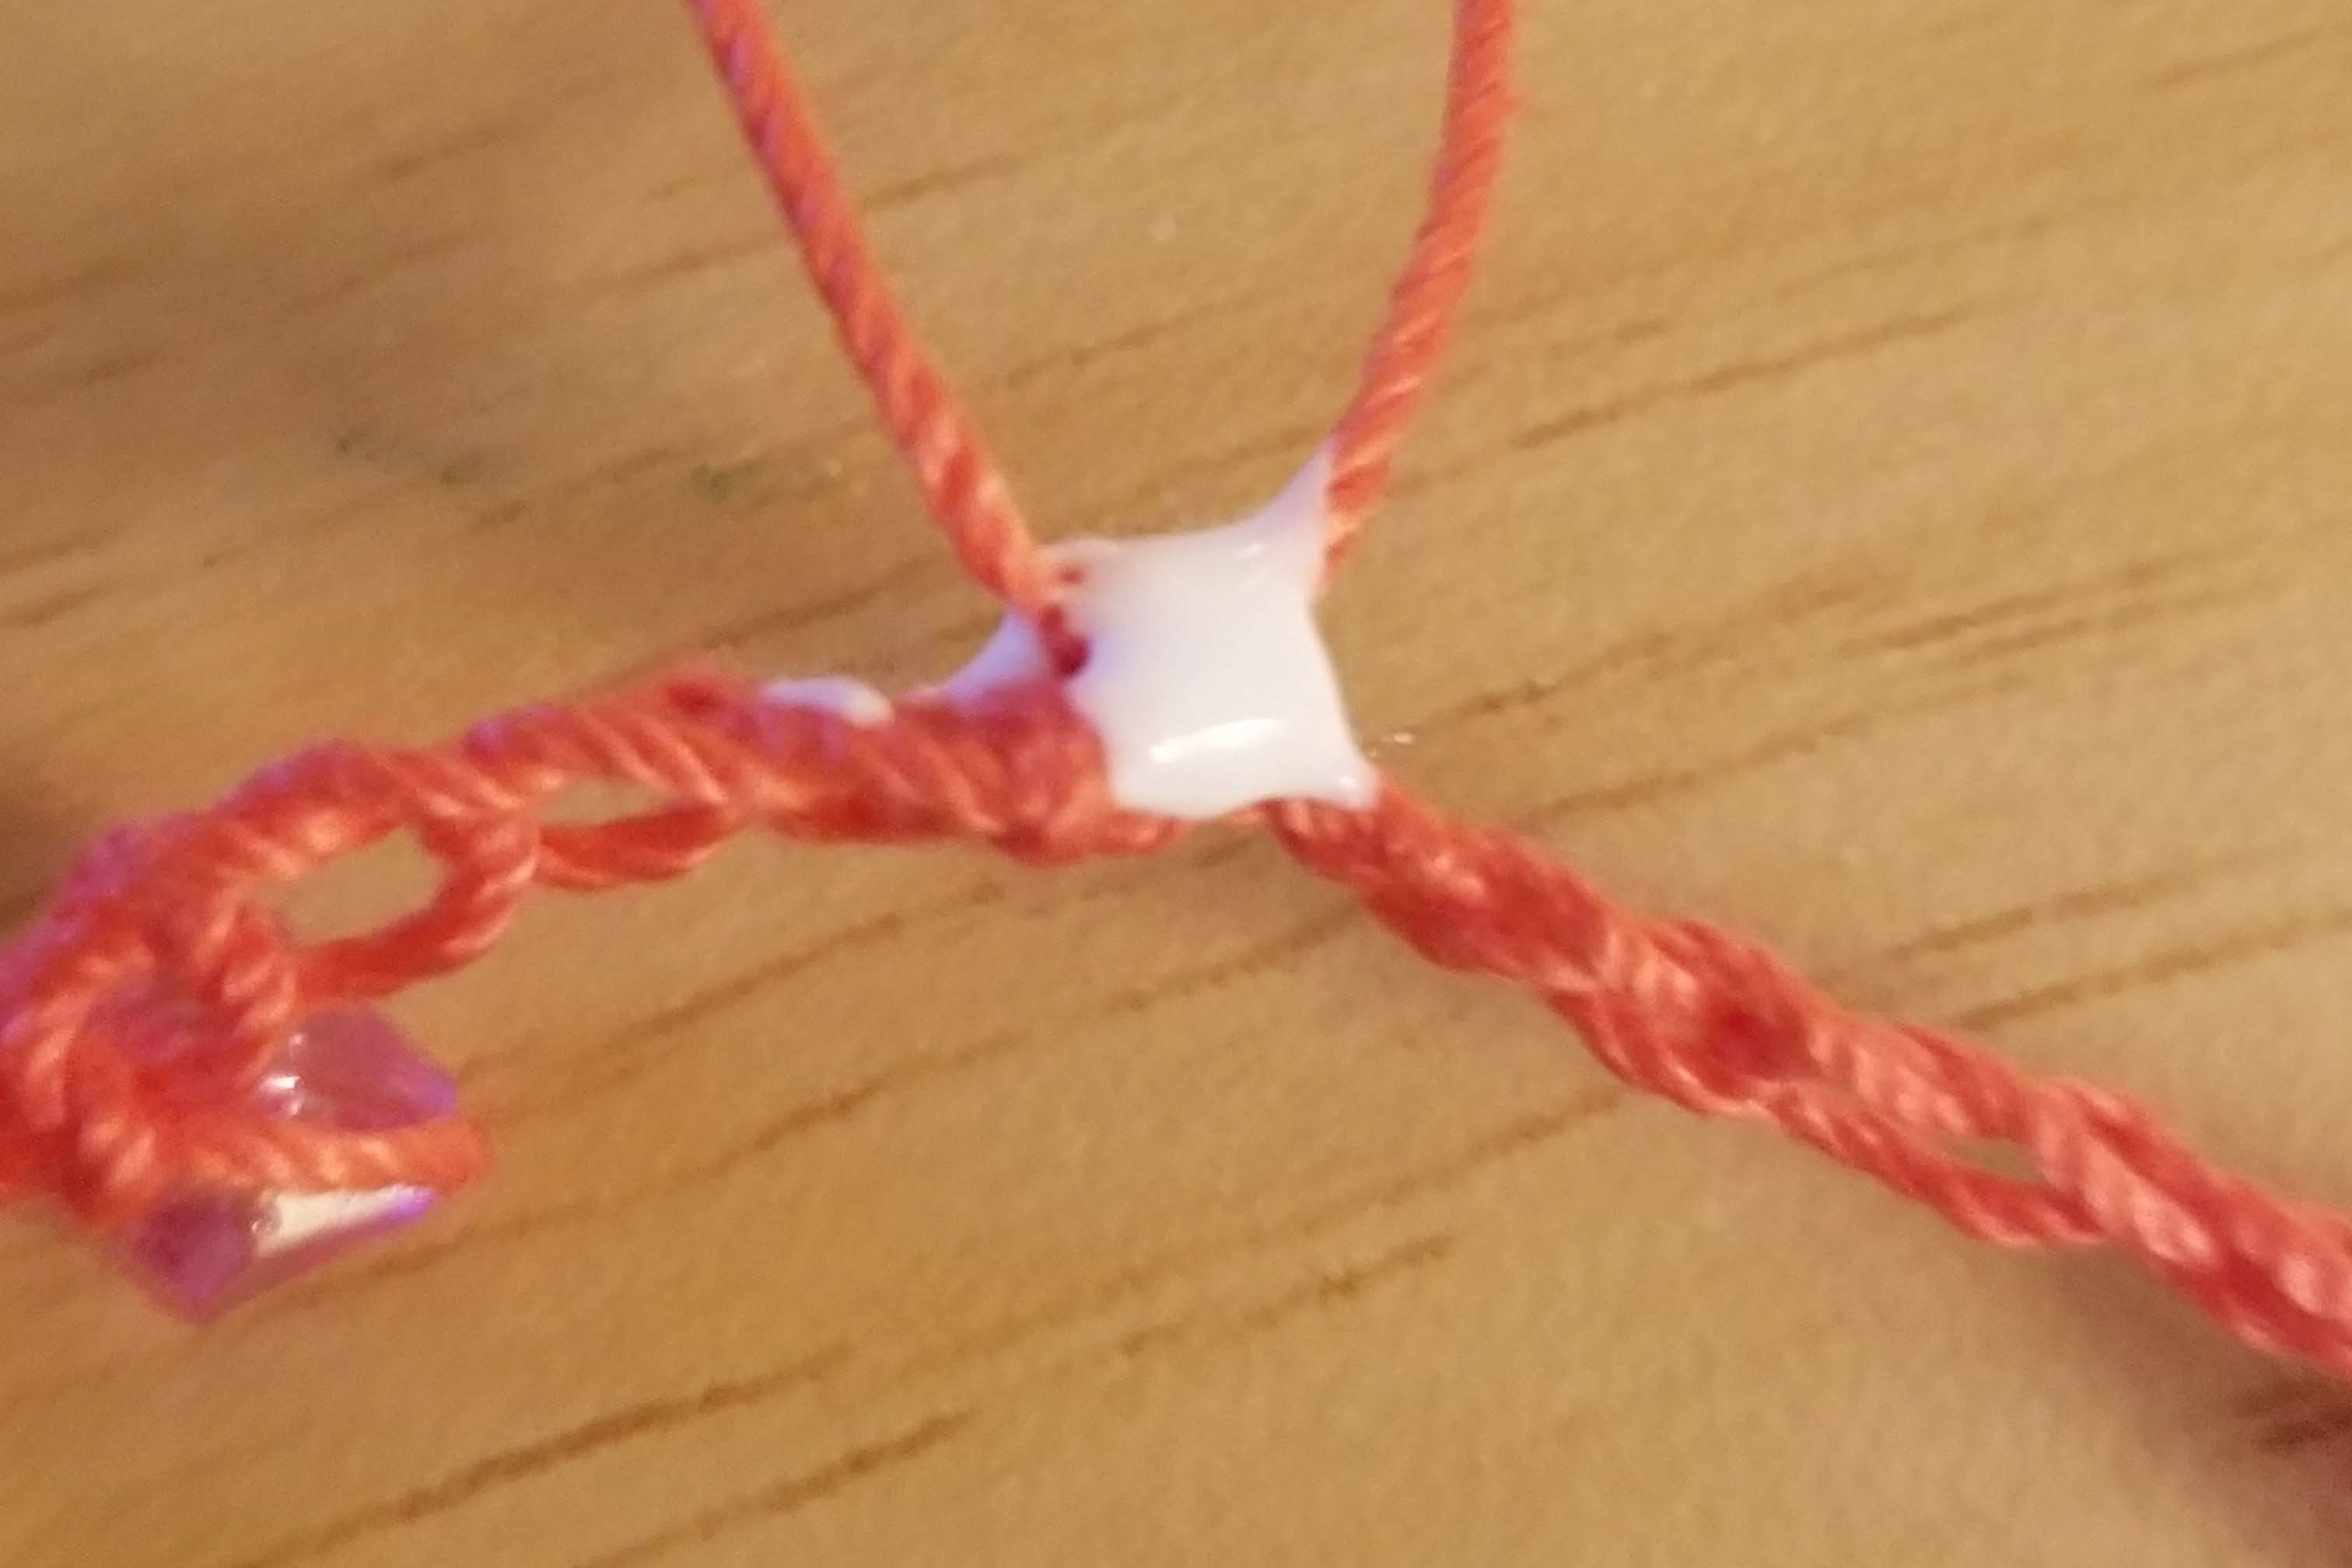
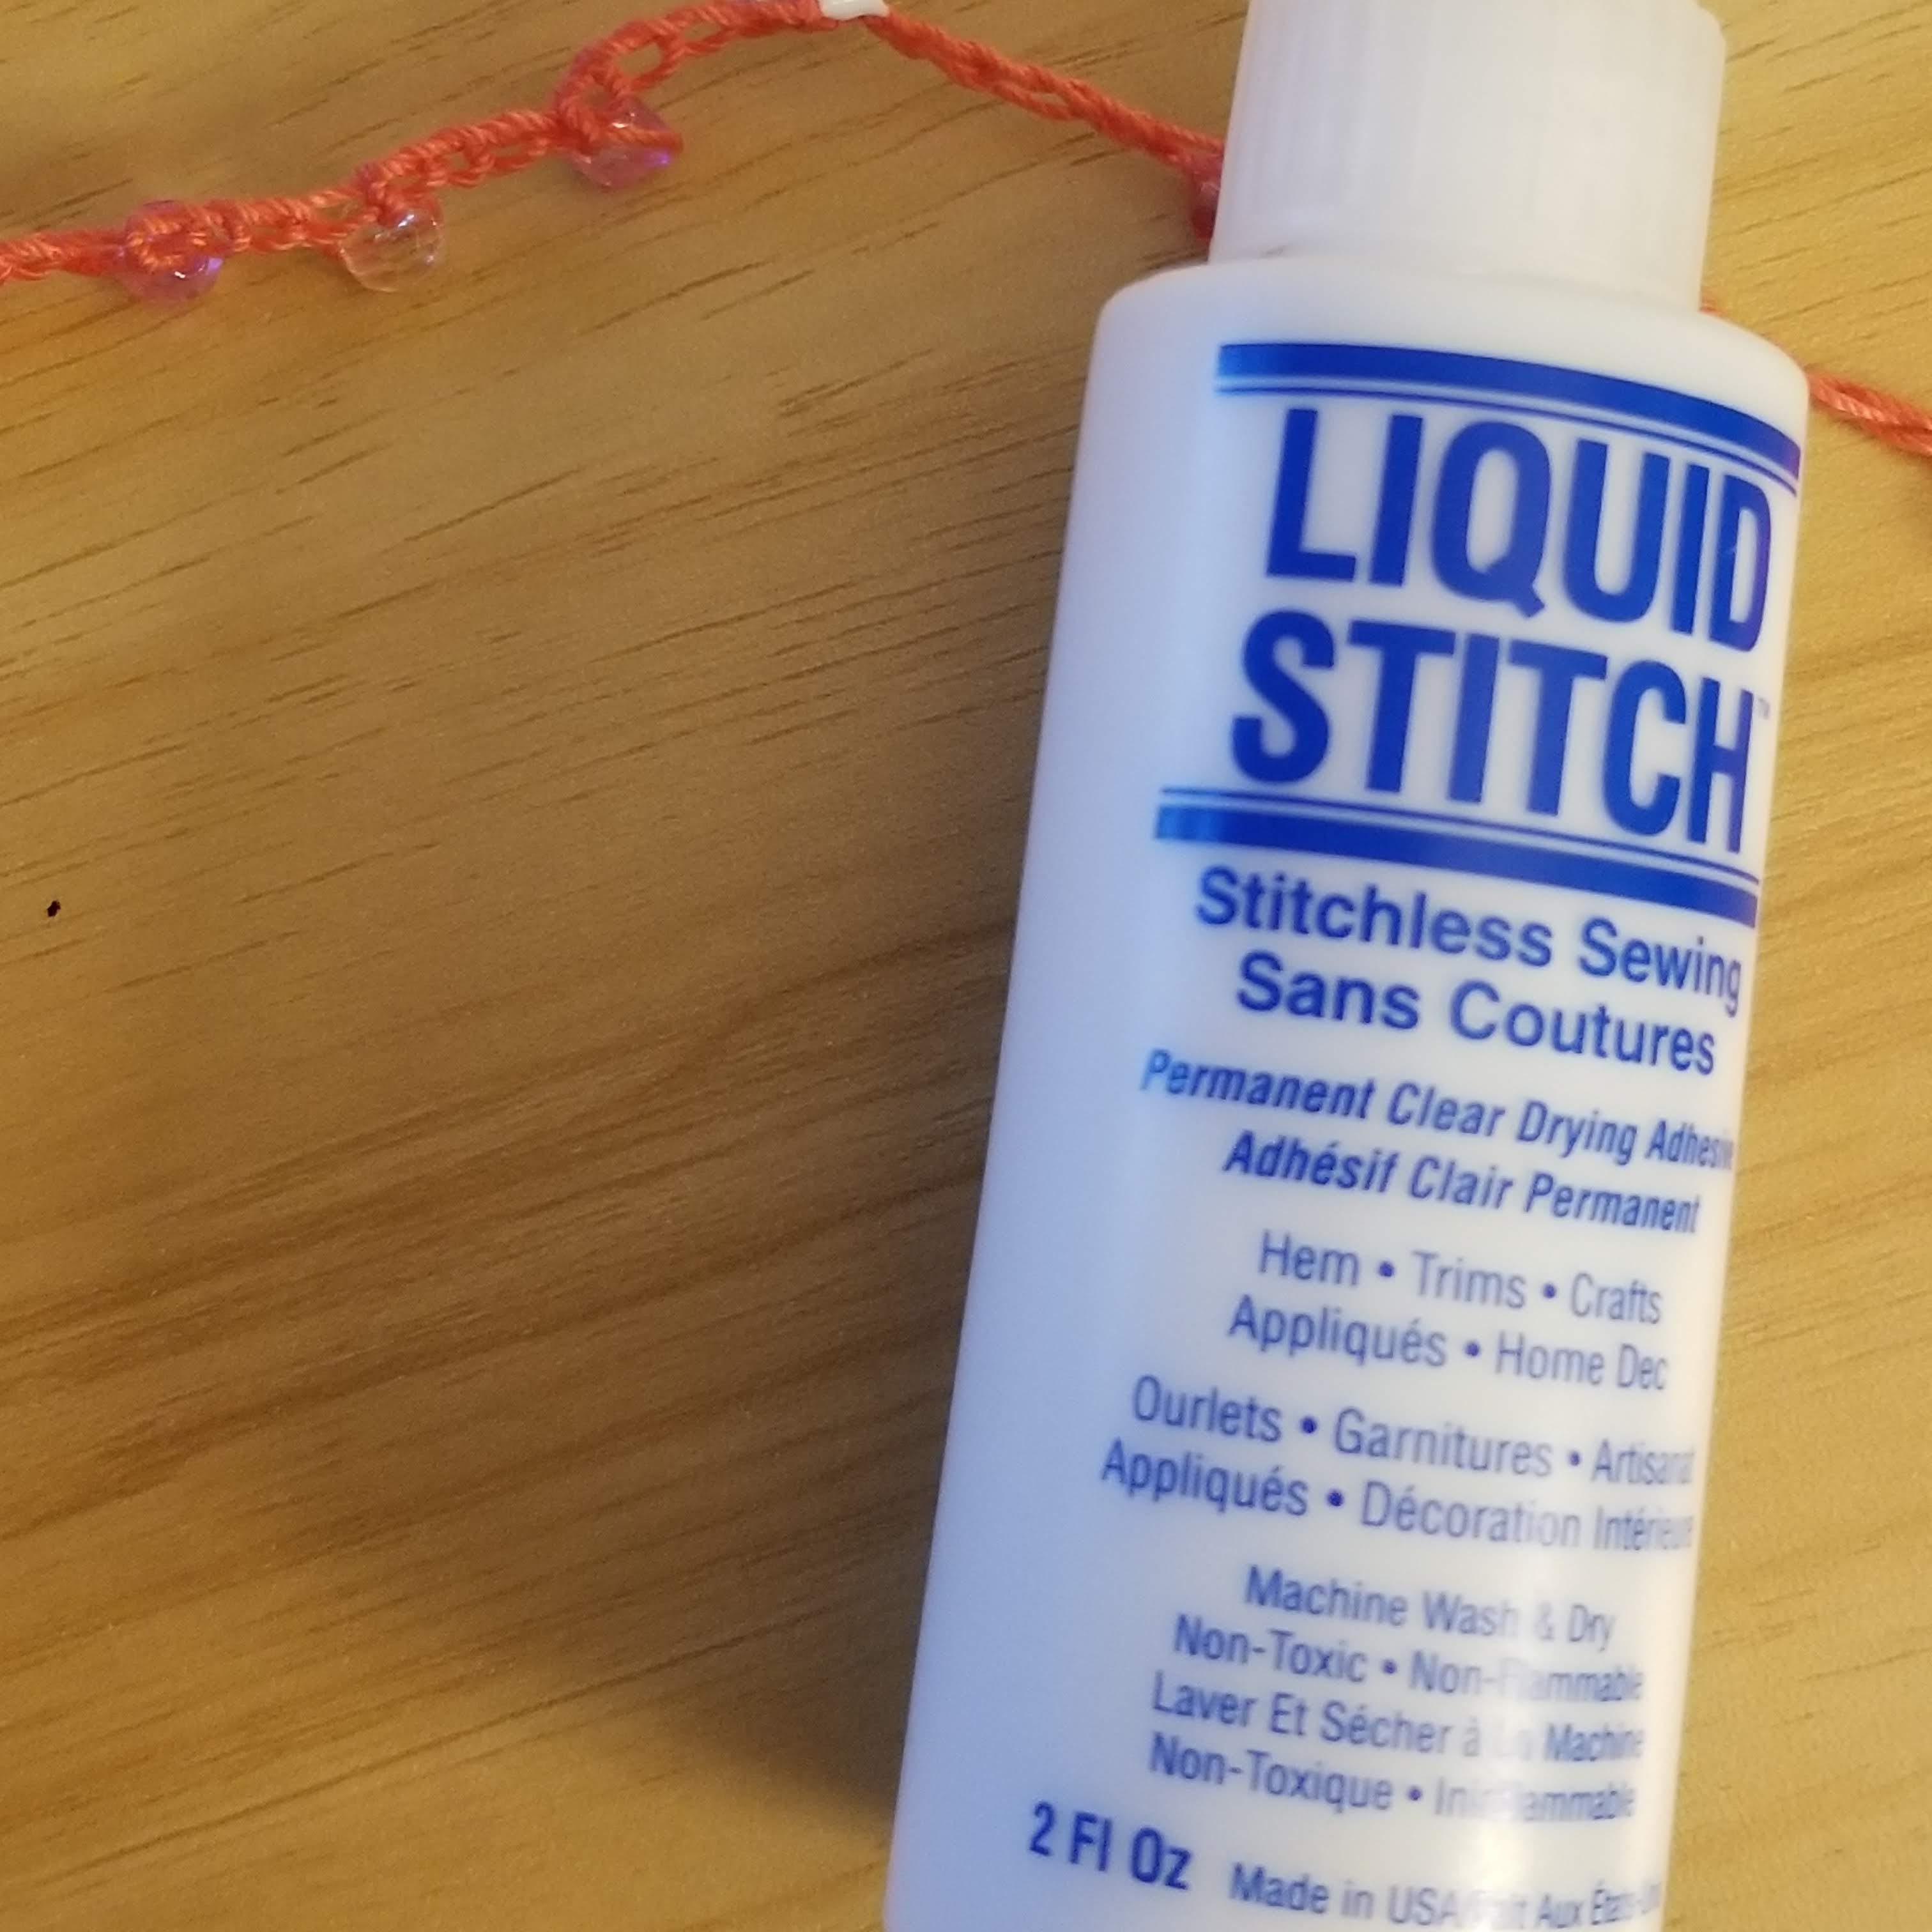
STEP 4: Glue the Knot
Put a few drops of the clear-dry glue on the knot, making sure to cover the loose crochet thread ends. Let it dry.
This is the glue I’ve been using (no special reason, it’s just what I had on hand, Elmer’s Glue would work too):
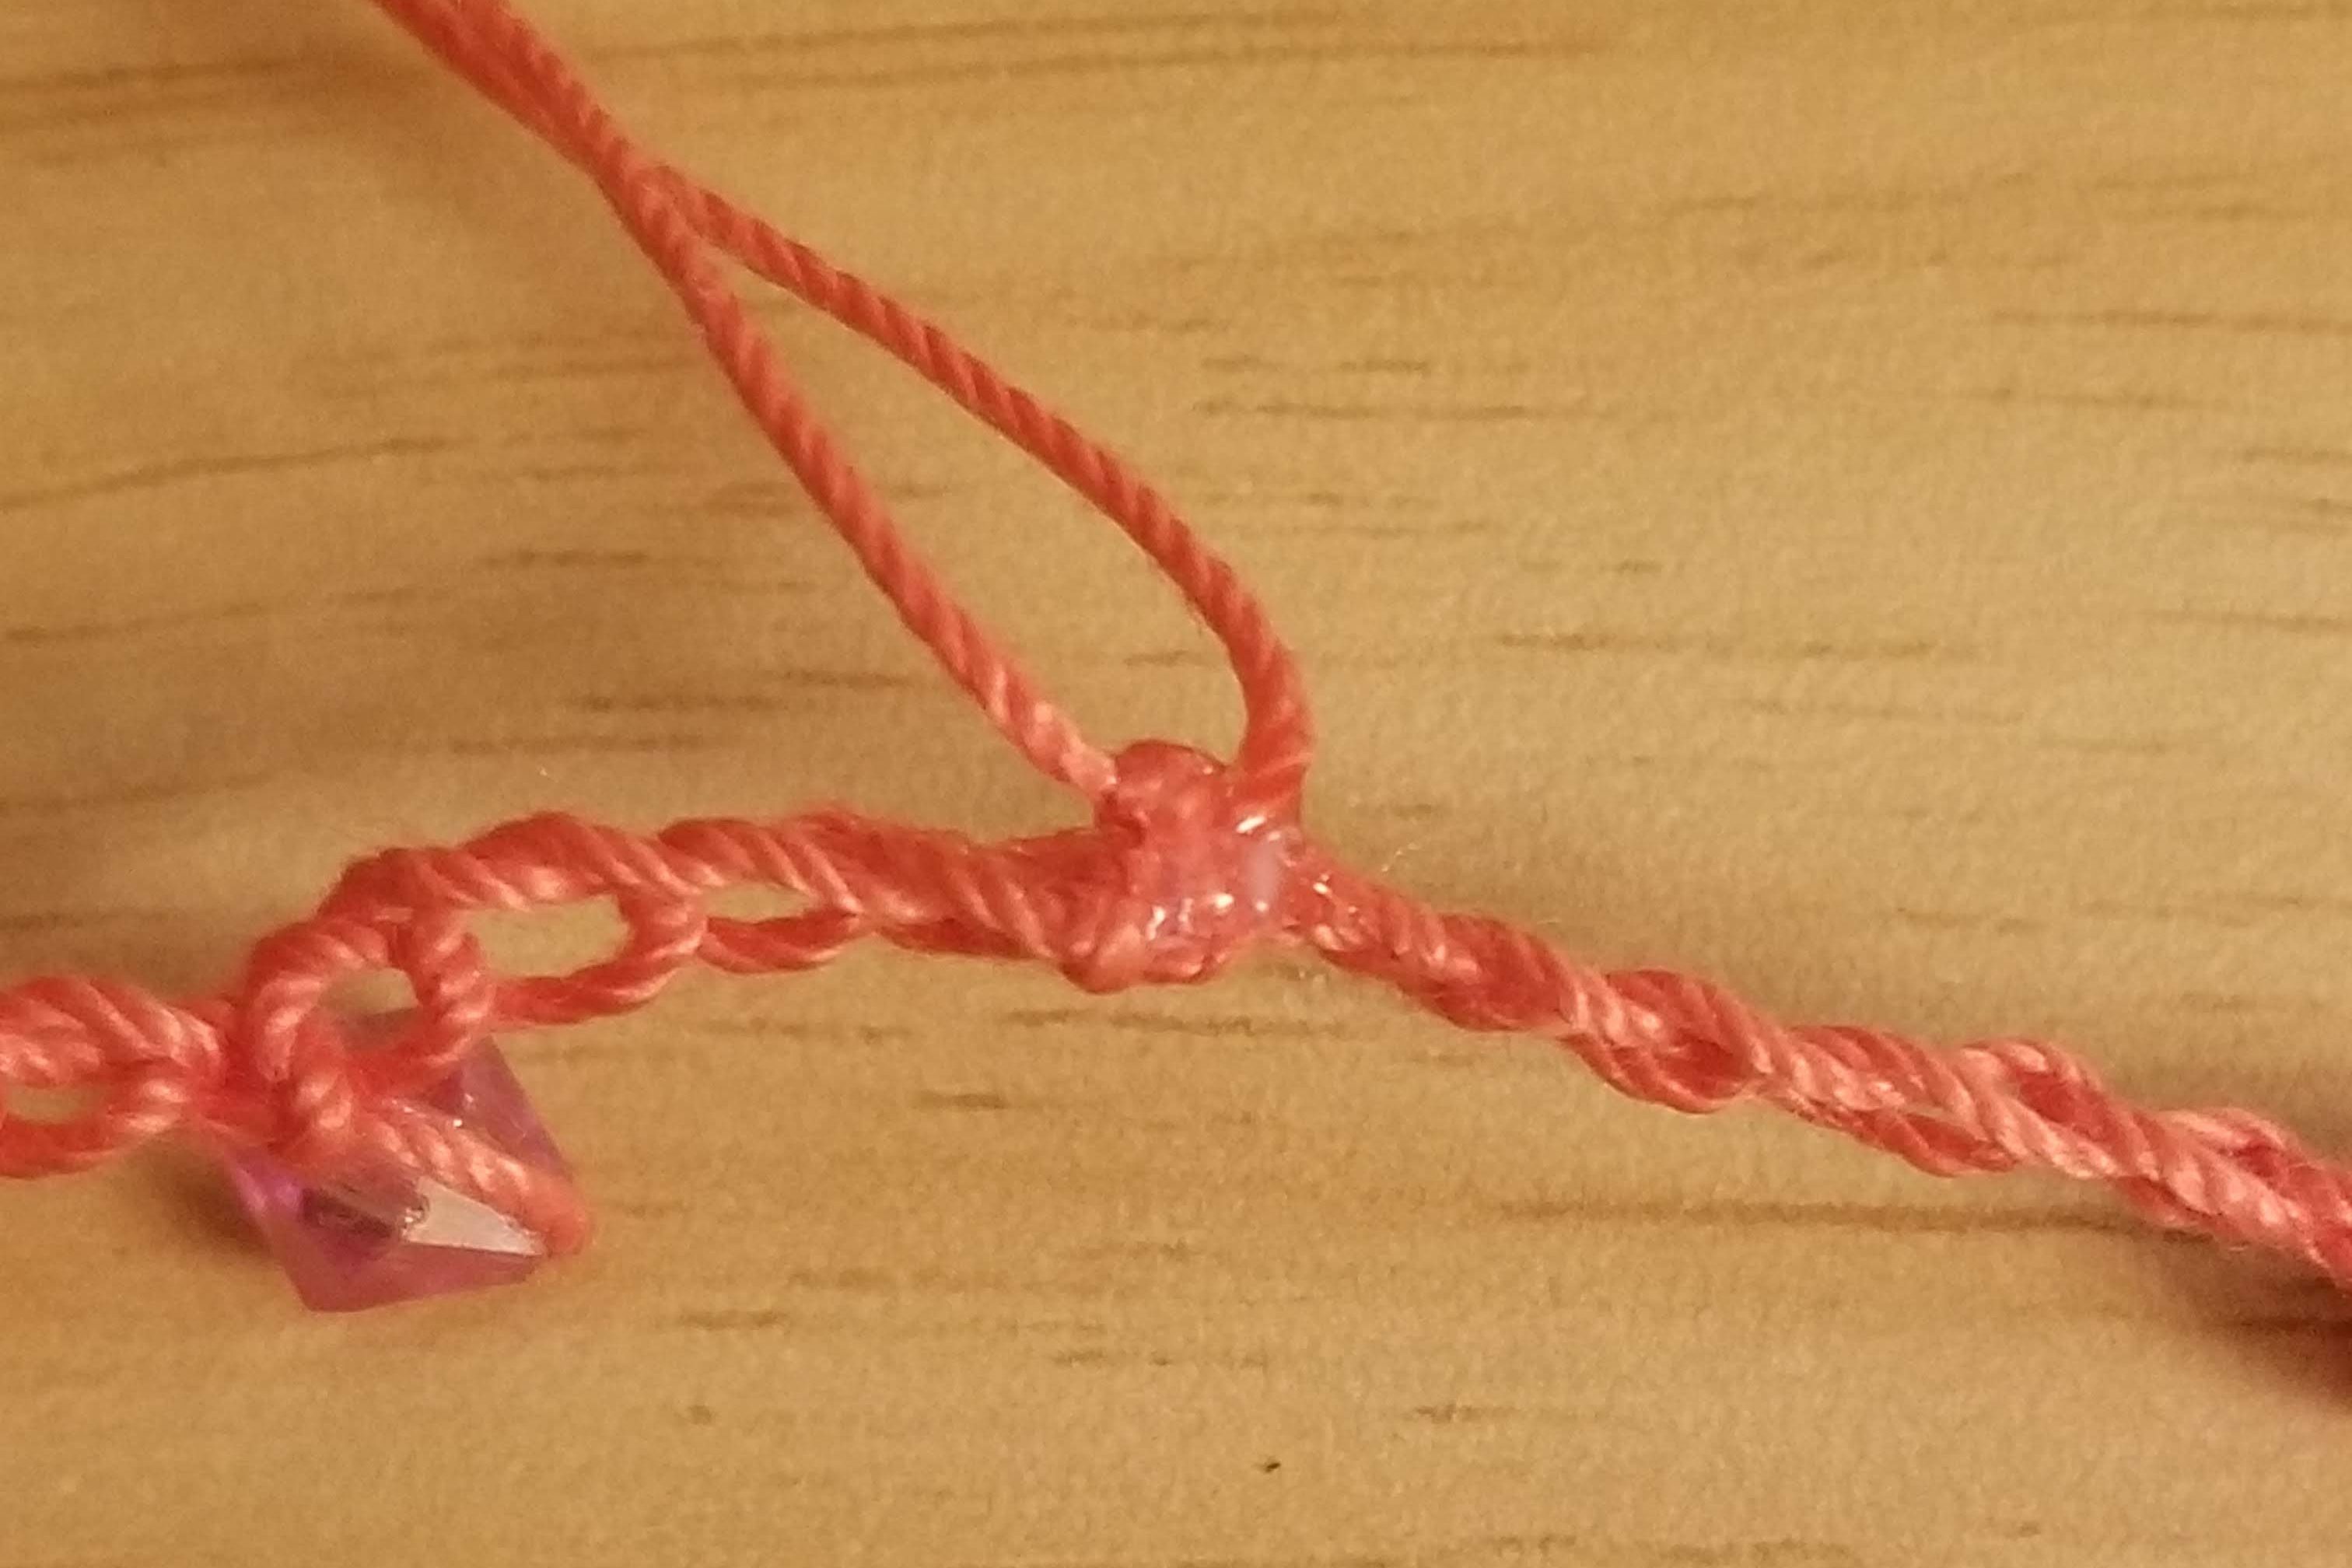
STEP 5: Cut the Ends
Cut the crochet thread ends close to the knot. The glue should keep it from coming apart.
Woo-hoo! You are finished! Now go wear that necklace proud!!!
So often in life we make things much more complicated than they have to be. Keep things simple and you’ll enjoy them more.
(If you would rather just buy an already made necklace, check out my closet on Poshmark.) https://poshmark.com/closet/simplybeingbee
Simply,


Leave a comment